Each quarter you upload the client’s spreadsheet to their open period, Tax Optimiser fills the nine boxes from the cells you mapped, you check them, and you send. The boxes are read-only — the uploaded file is always the source of truth, which is exactly what Making Tax Digital’s digital-links rules want.
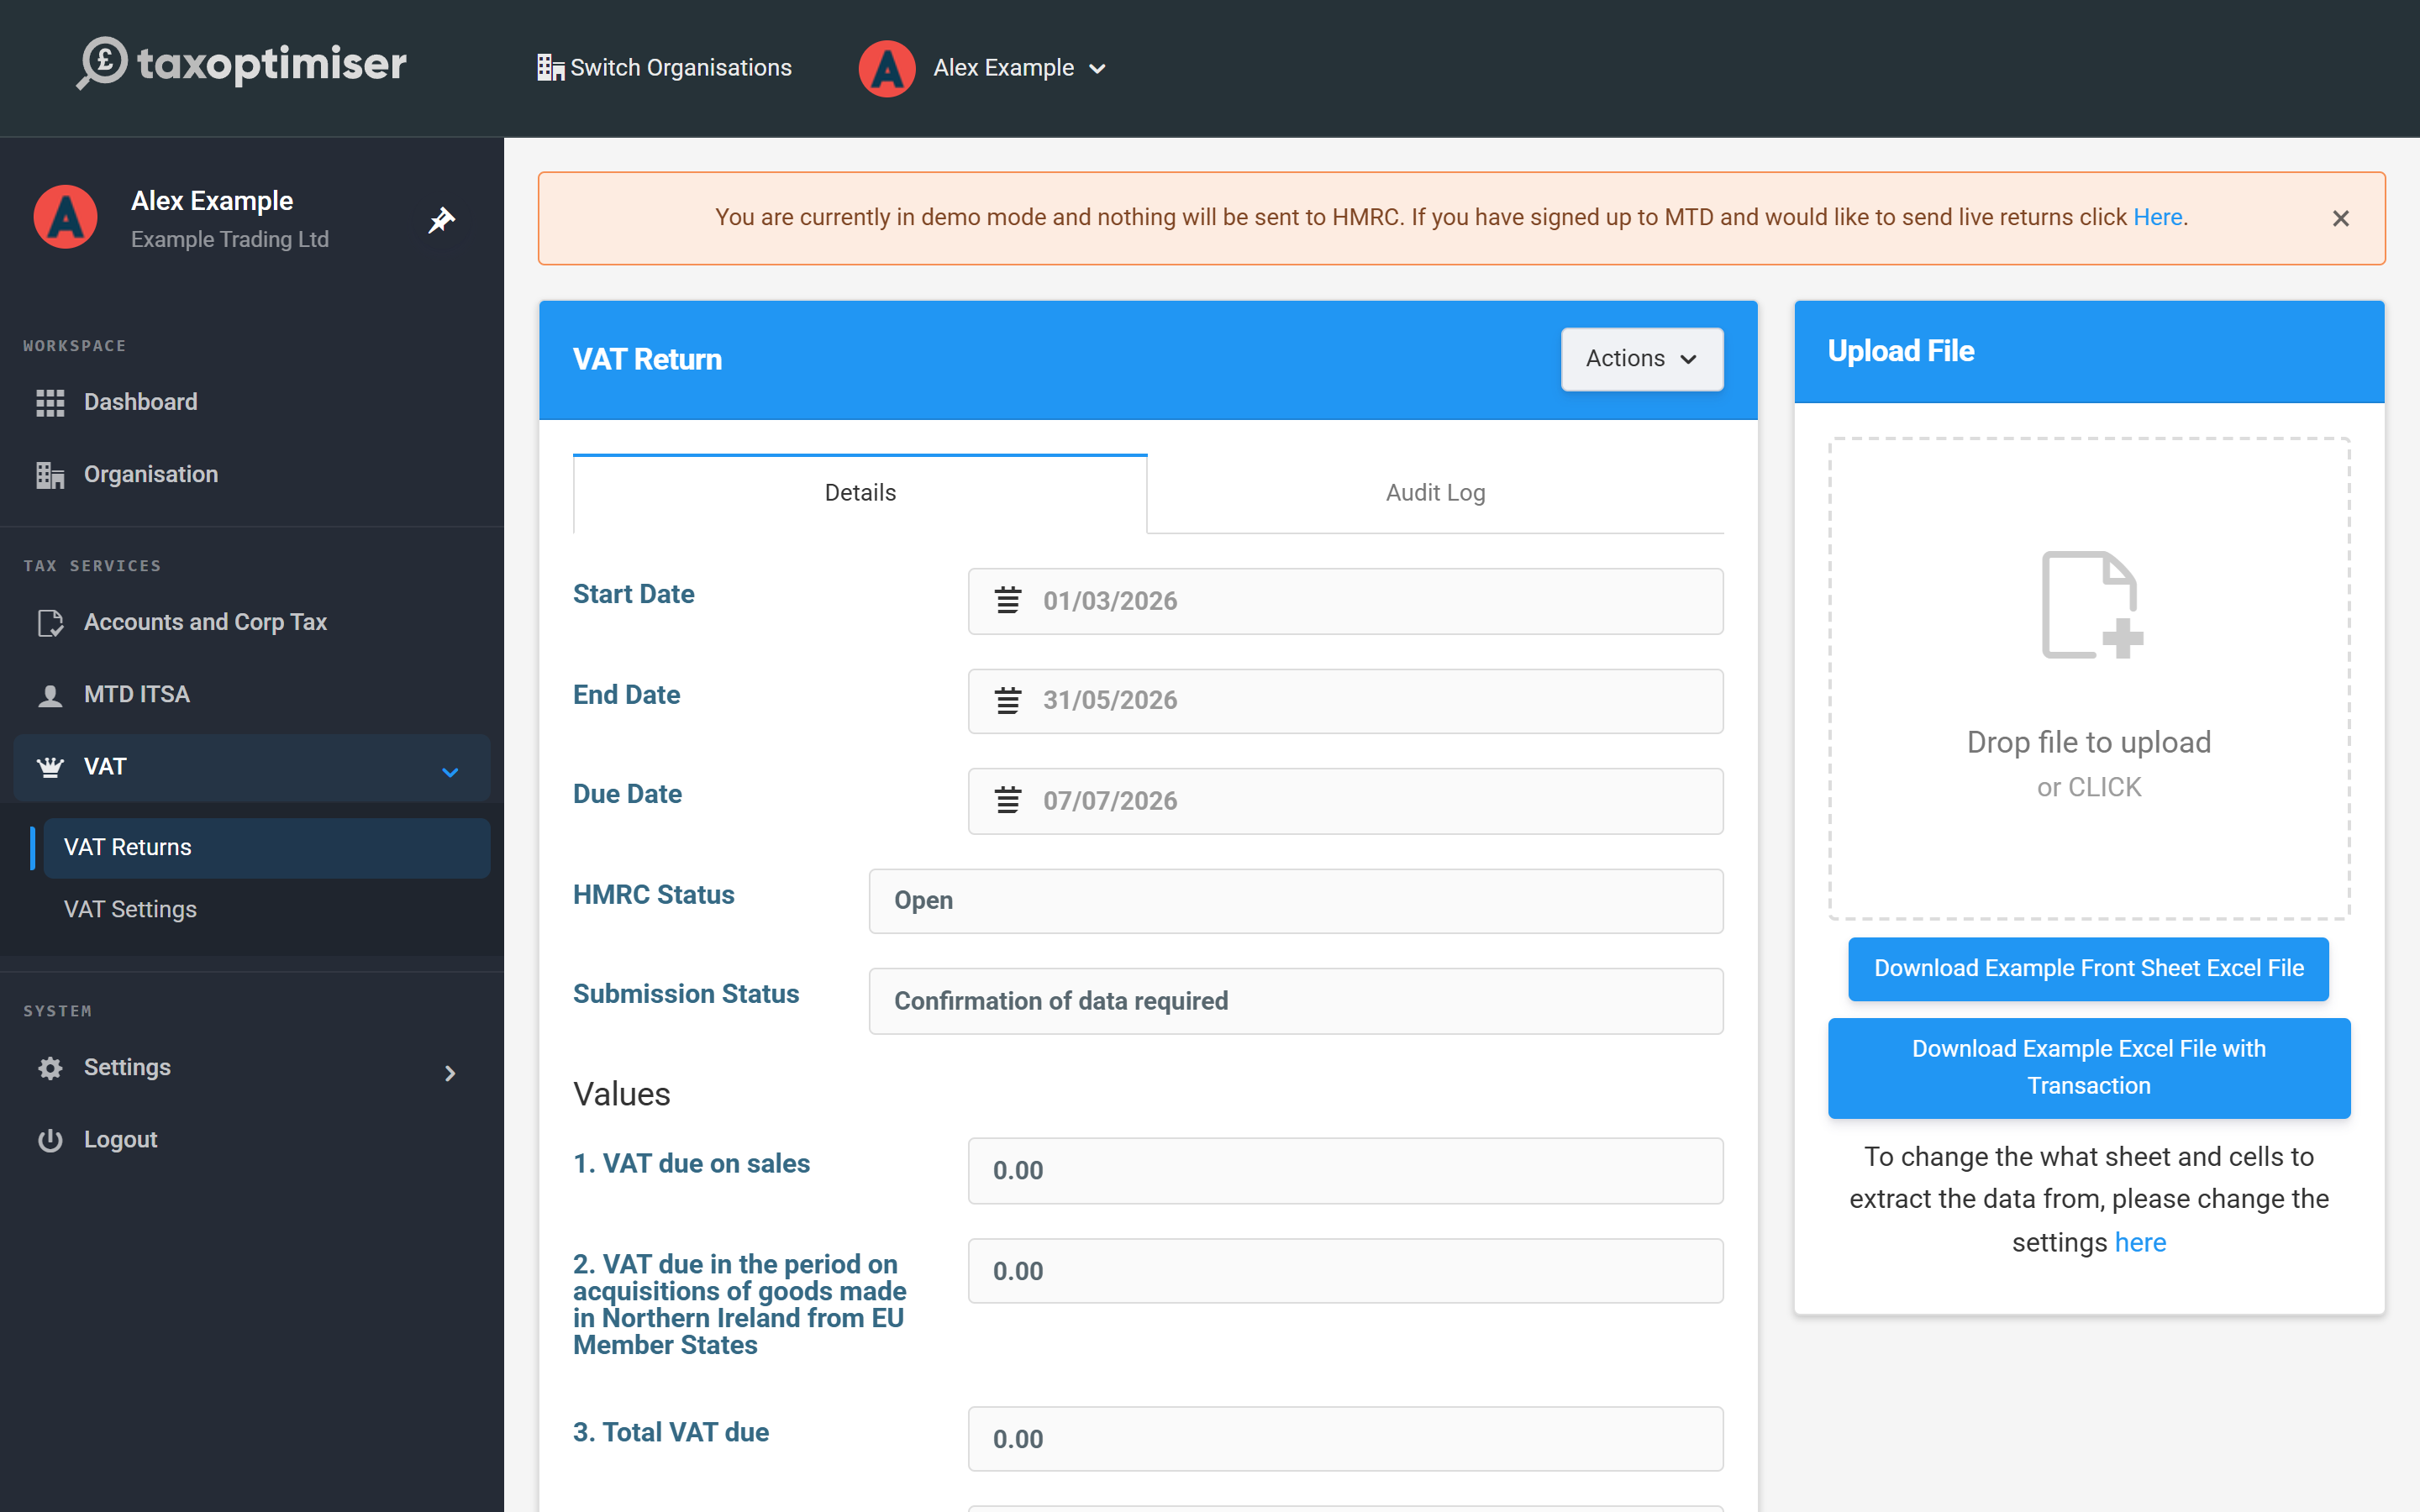
Open the return and upload the file
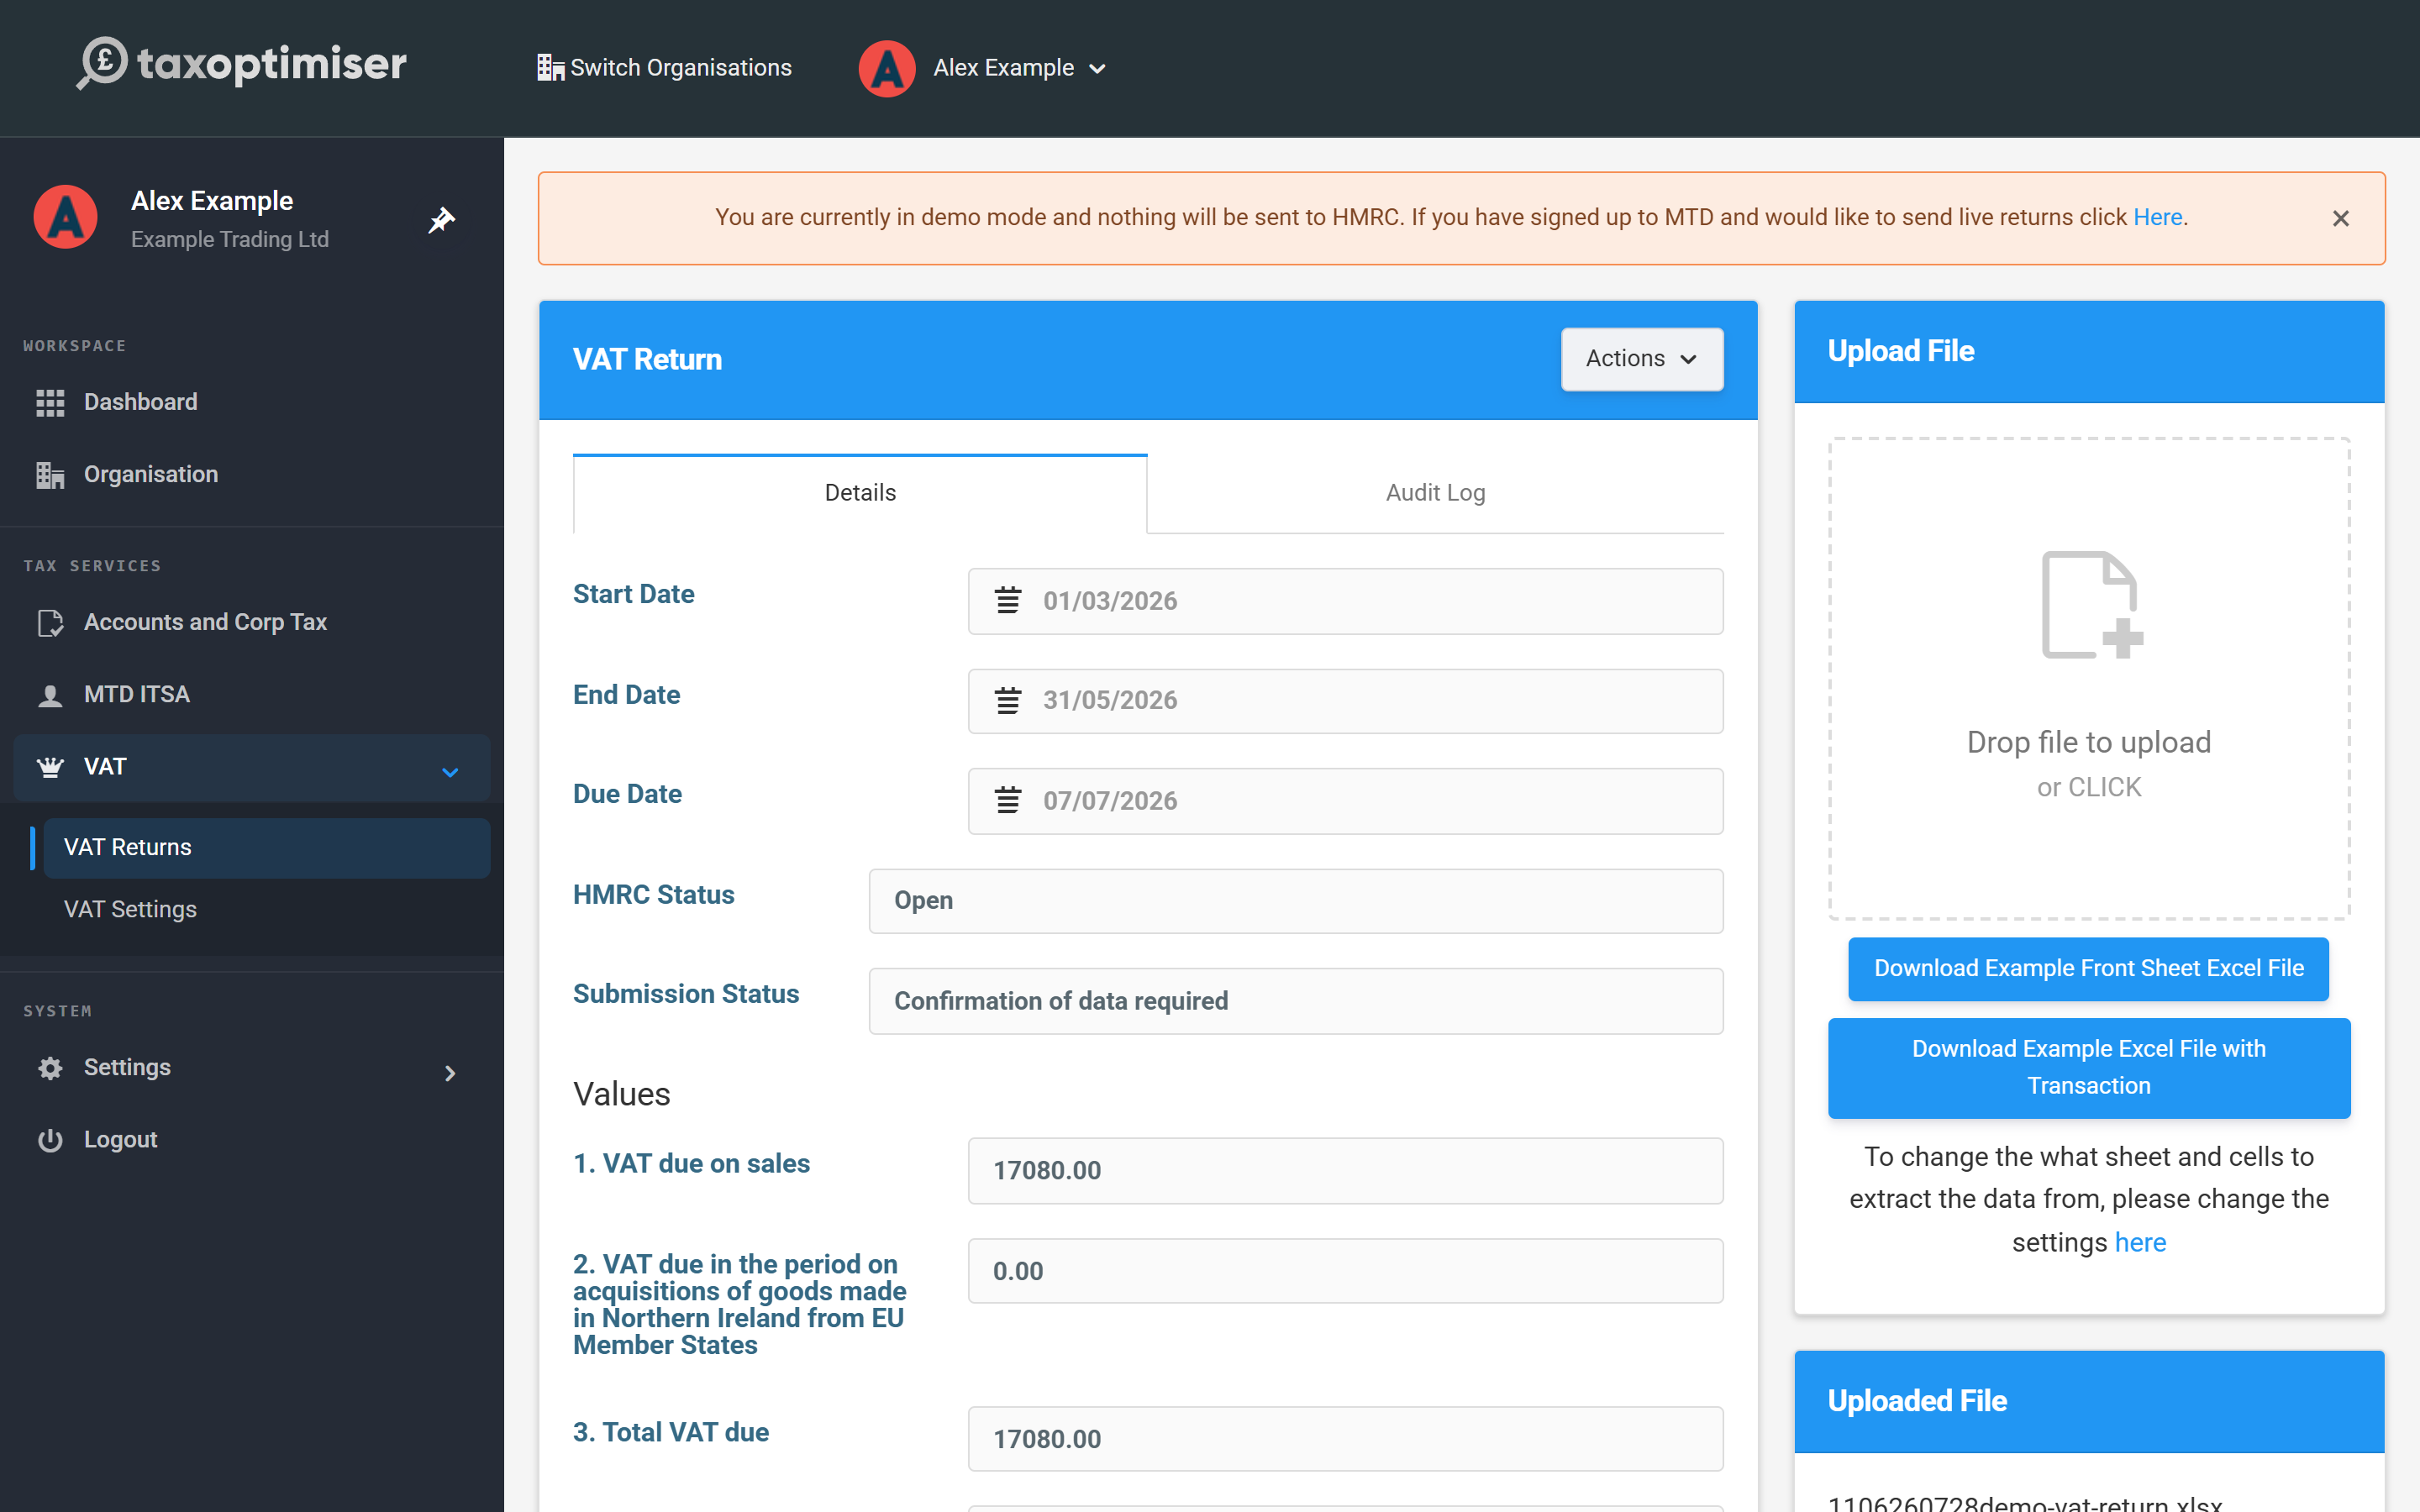
On VAT Returns, click the period link of the Open return. You’ll see the return’s dates and status, the nine boxes at zero, and an Upload File panel. Drag the client’s file onto the upload area, or click it to browse — Excel files (.xlsx, .xls, .xlsm) and .csv are accepted. Processing takes a few seconds and the page updates itself; the file stays on the return so you can Download it later or Delete it and upload a corrected version.
Check the nine boxes
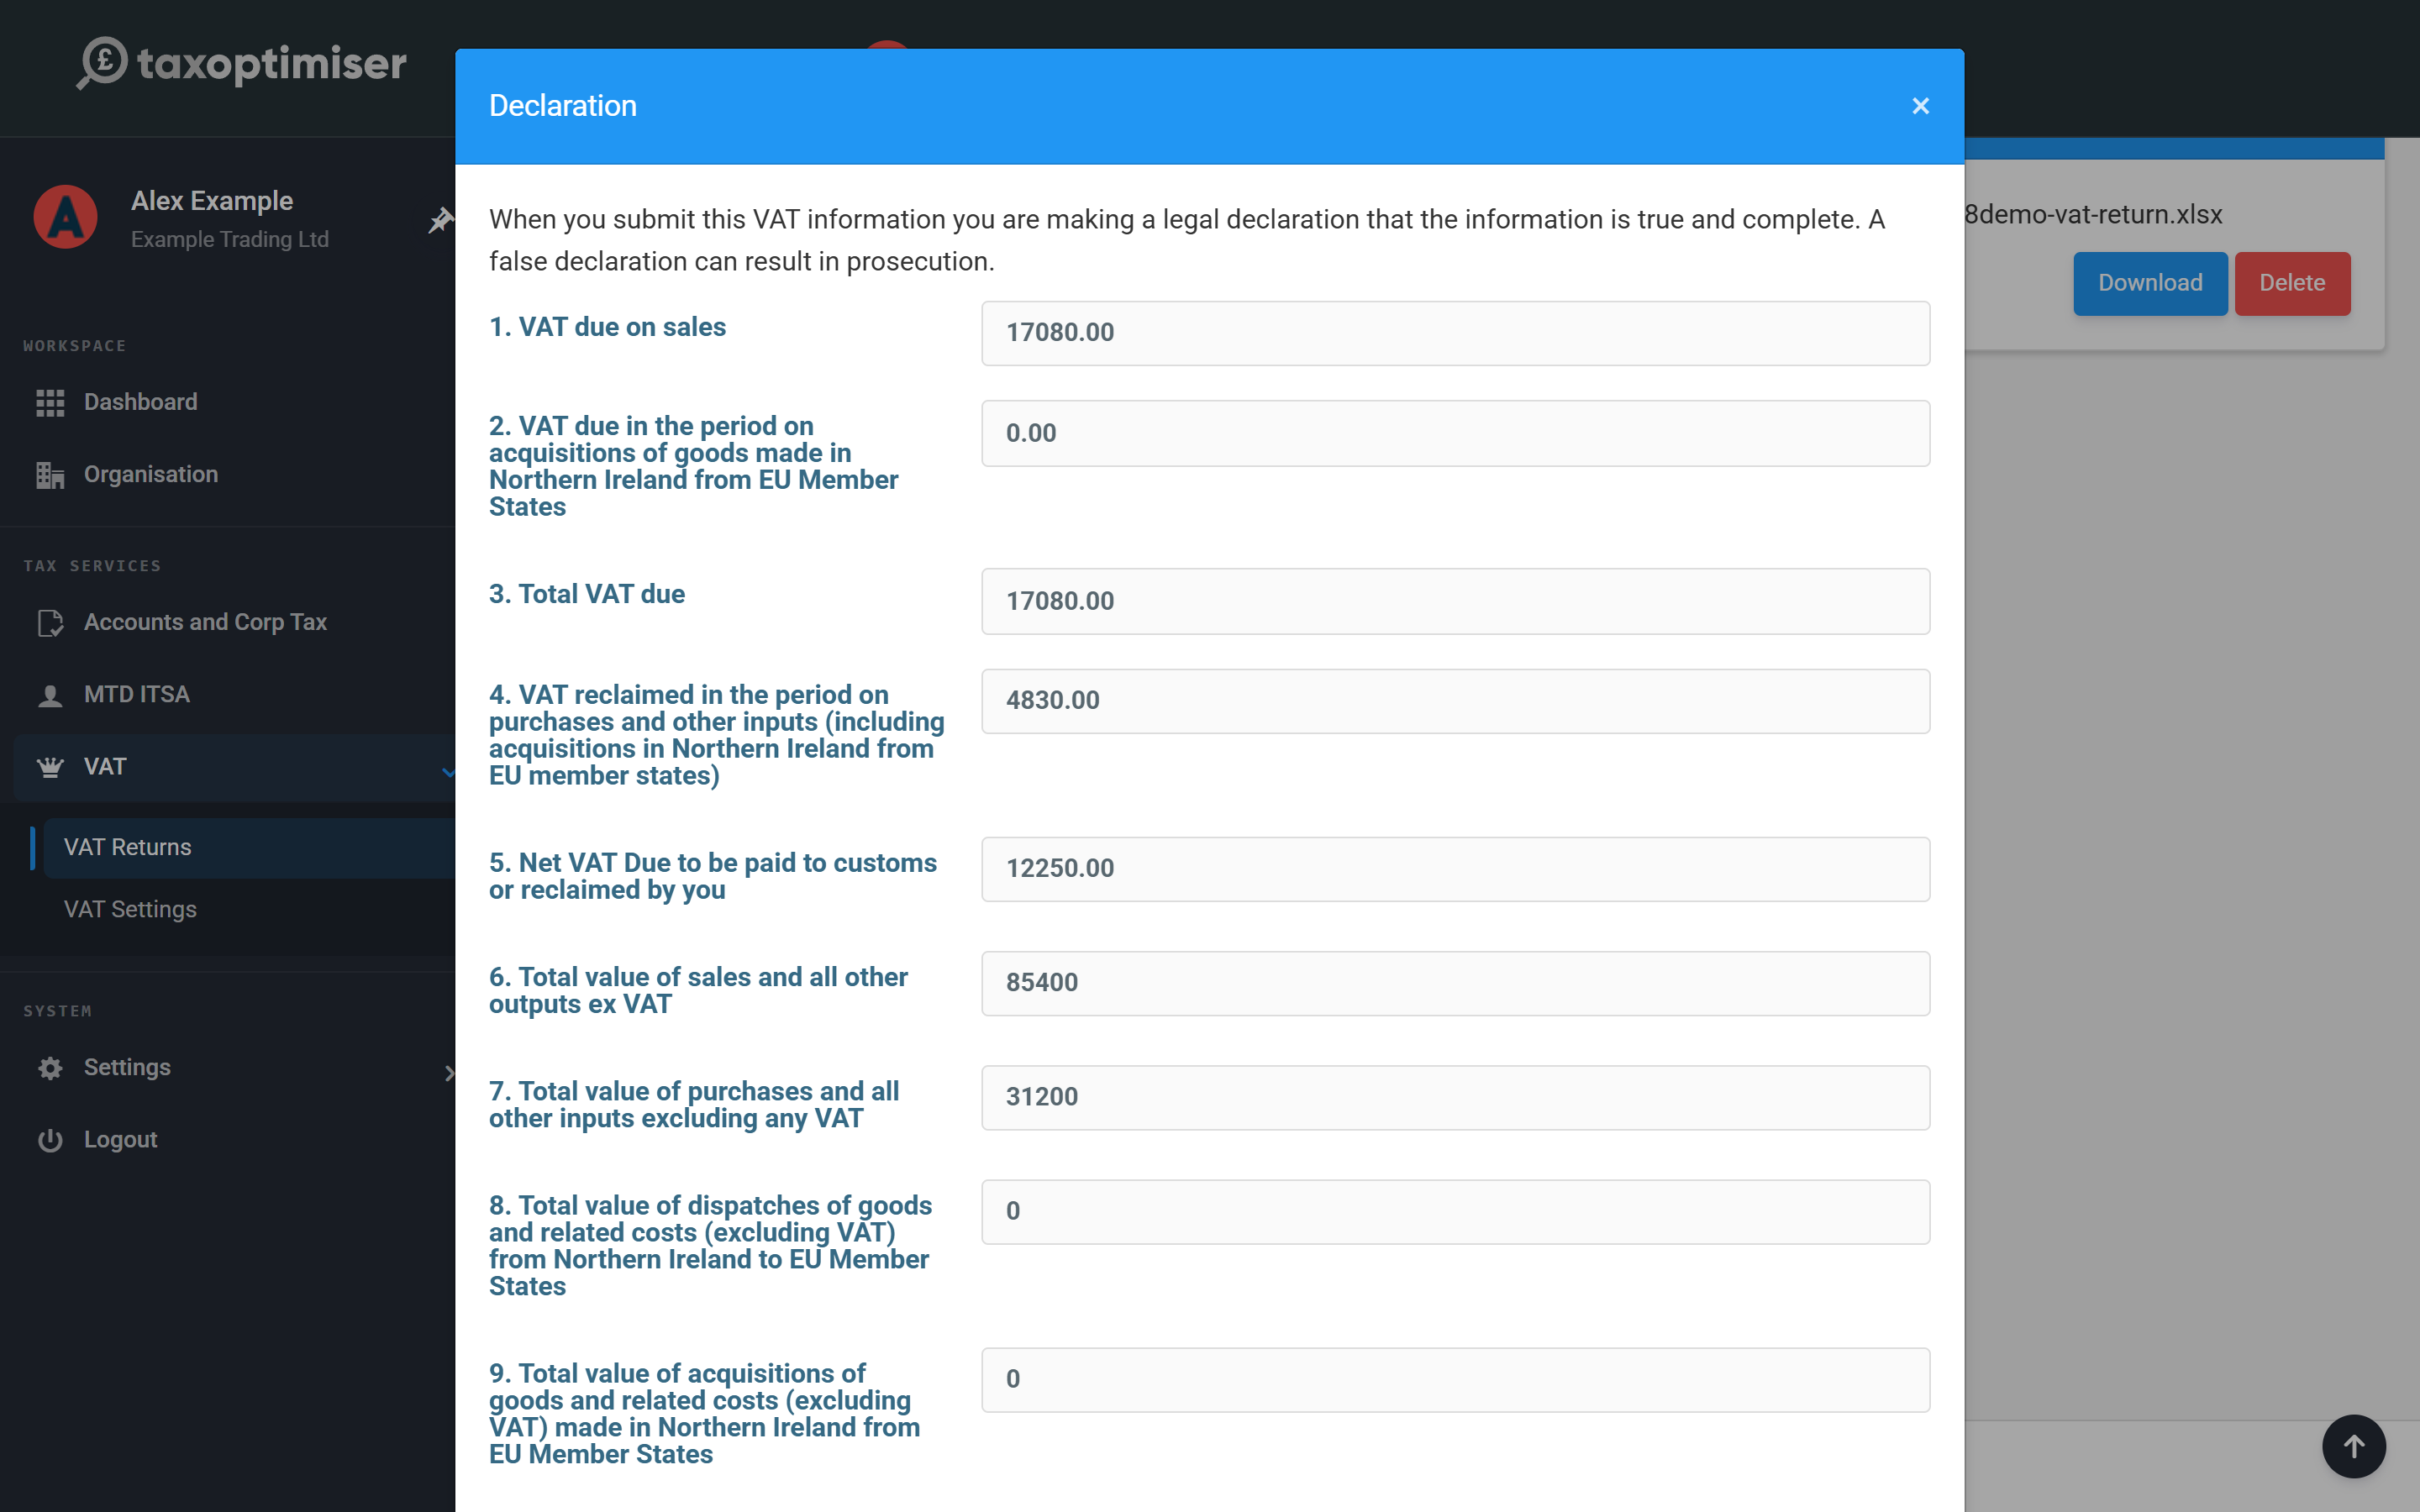
The boxes now show what was read from the spreadsheet — check them against the client’s records before sending. In our example the quarter’s standard-rated sales were £85,400, so Box 1 shows £17,080.00 of output VAT, Box 4 reclaims £4,830.00 of input VAT, and Box 5 lands on £17,080 − £4,830 = £12,250.00 net VAT due. If a box is wrong, fix the cell in the spreadsheet and upload again — don’t re-point the mapping unless the layout itself changed. For a nil return, use Actions → Reset all values to zero rather than uploading a file of zeros — you still have to submit it.
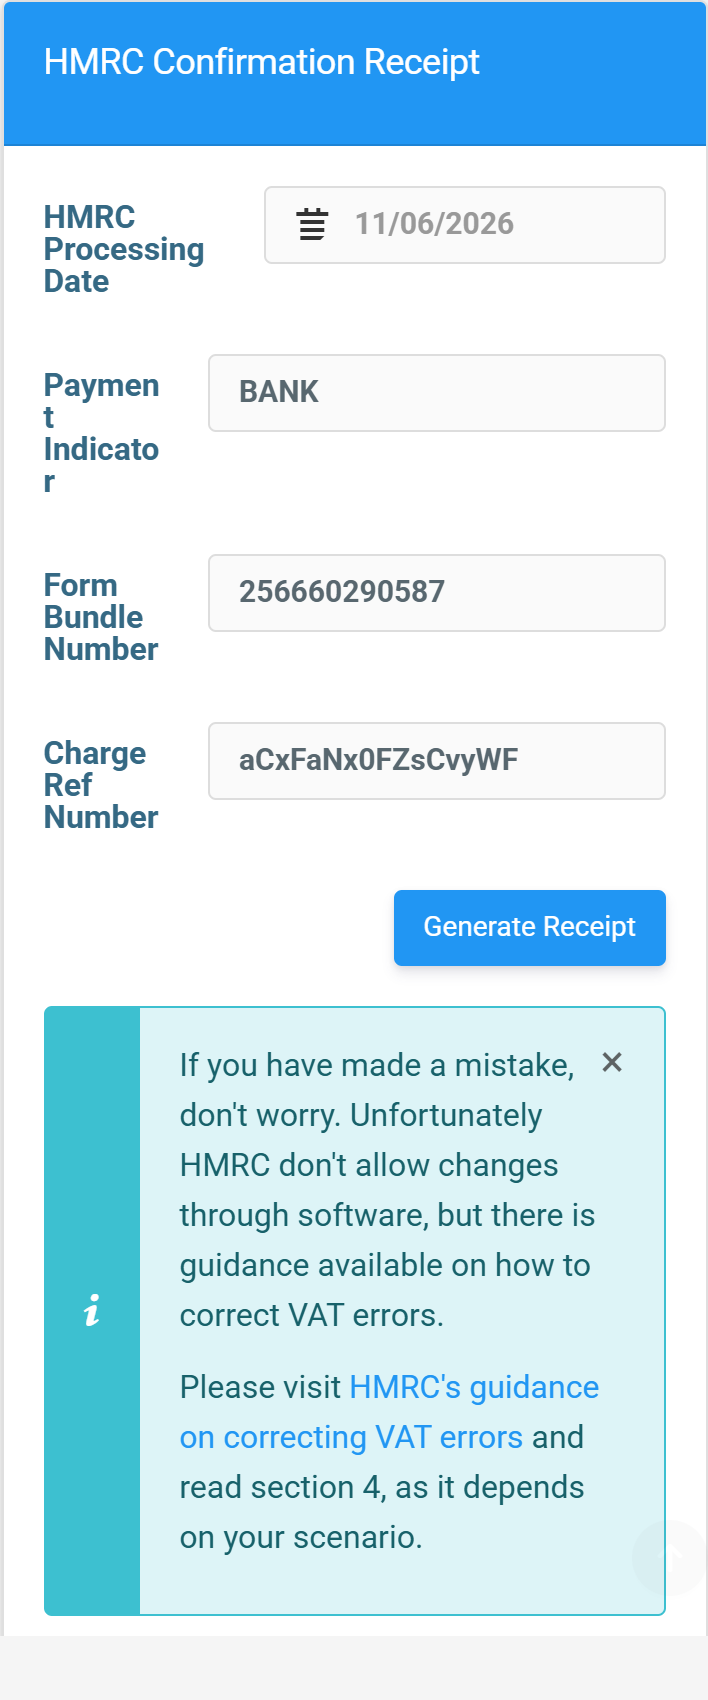
Send and keep the receipt
Click Send VAT Return. The declaration is the legal confirmation HMRC requires that the figures are true and complete — only accept it once you’ve checked the boxes. You can add an internal note (it stays in Tax Optimiser). Click Accept.
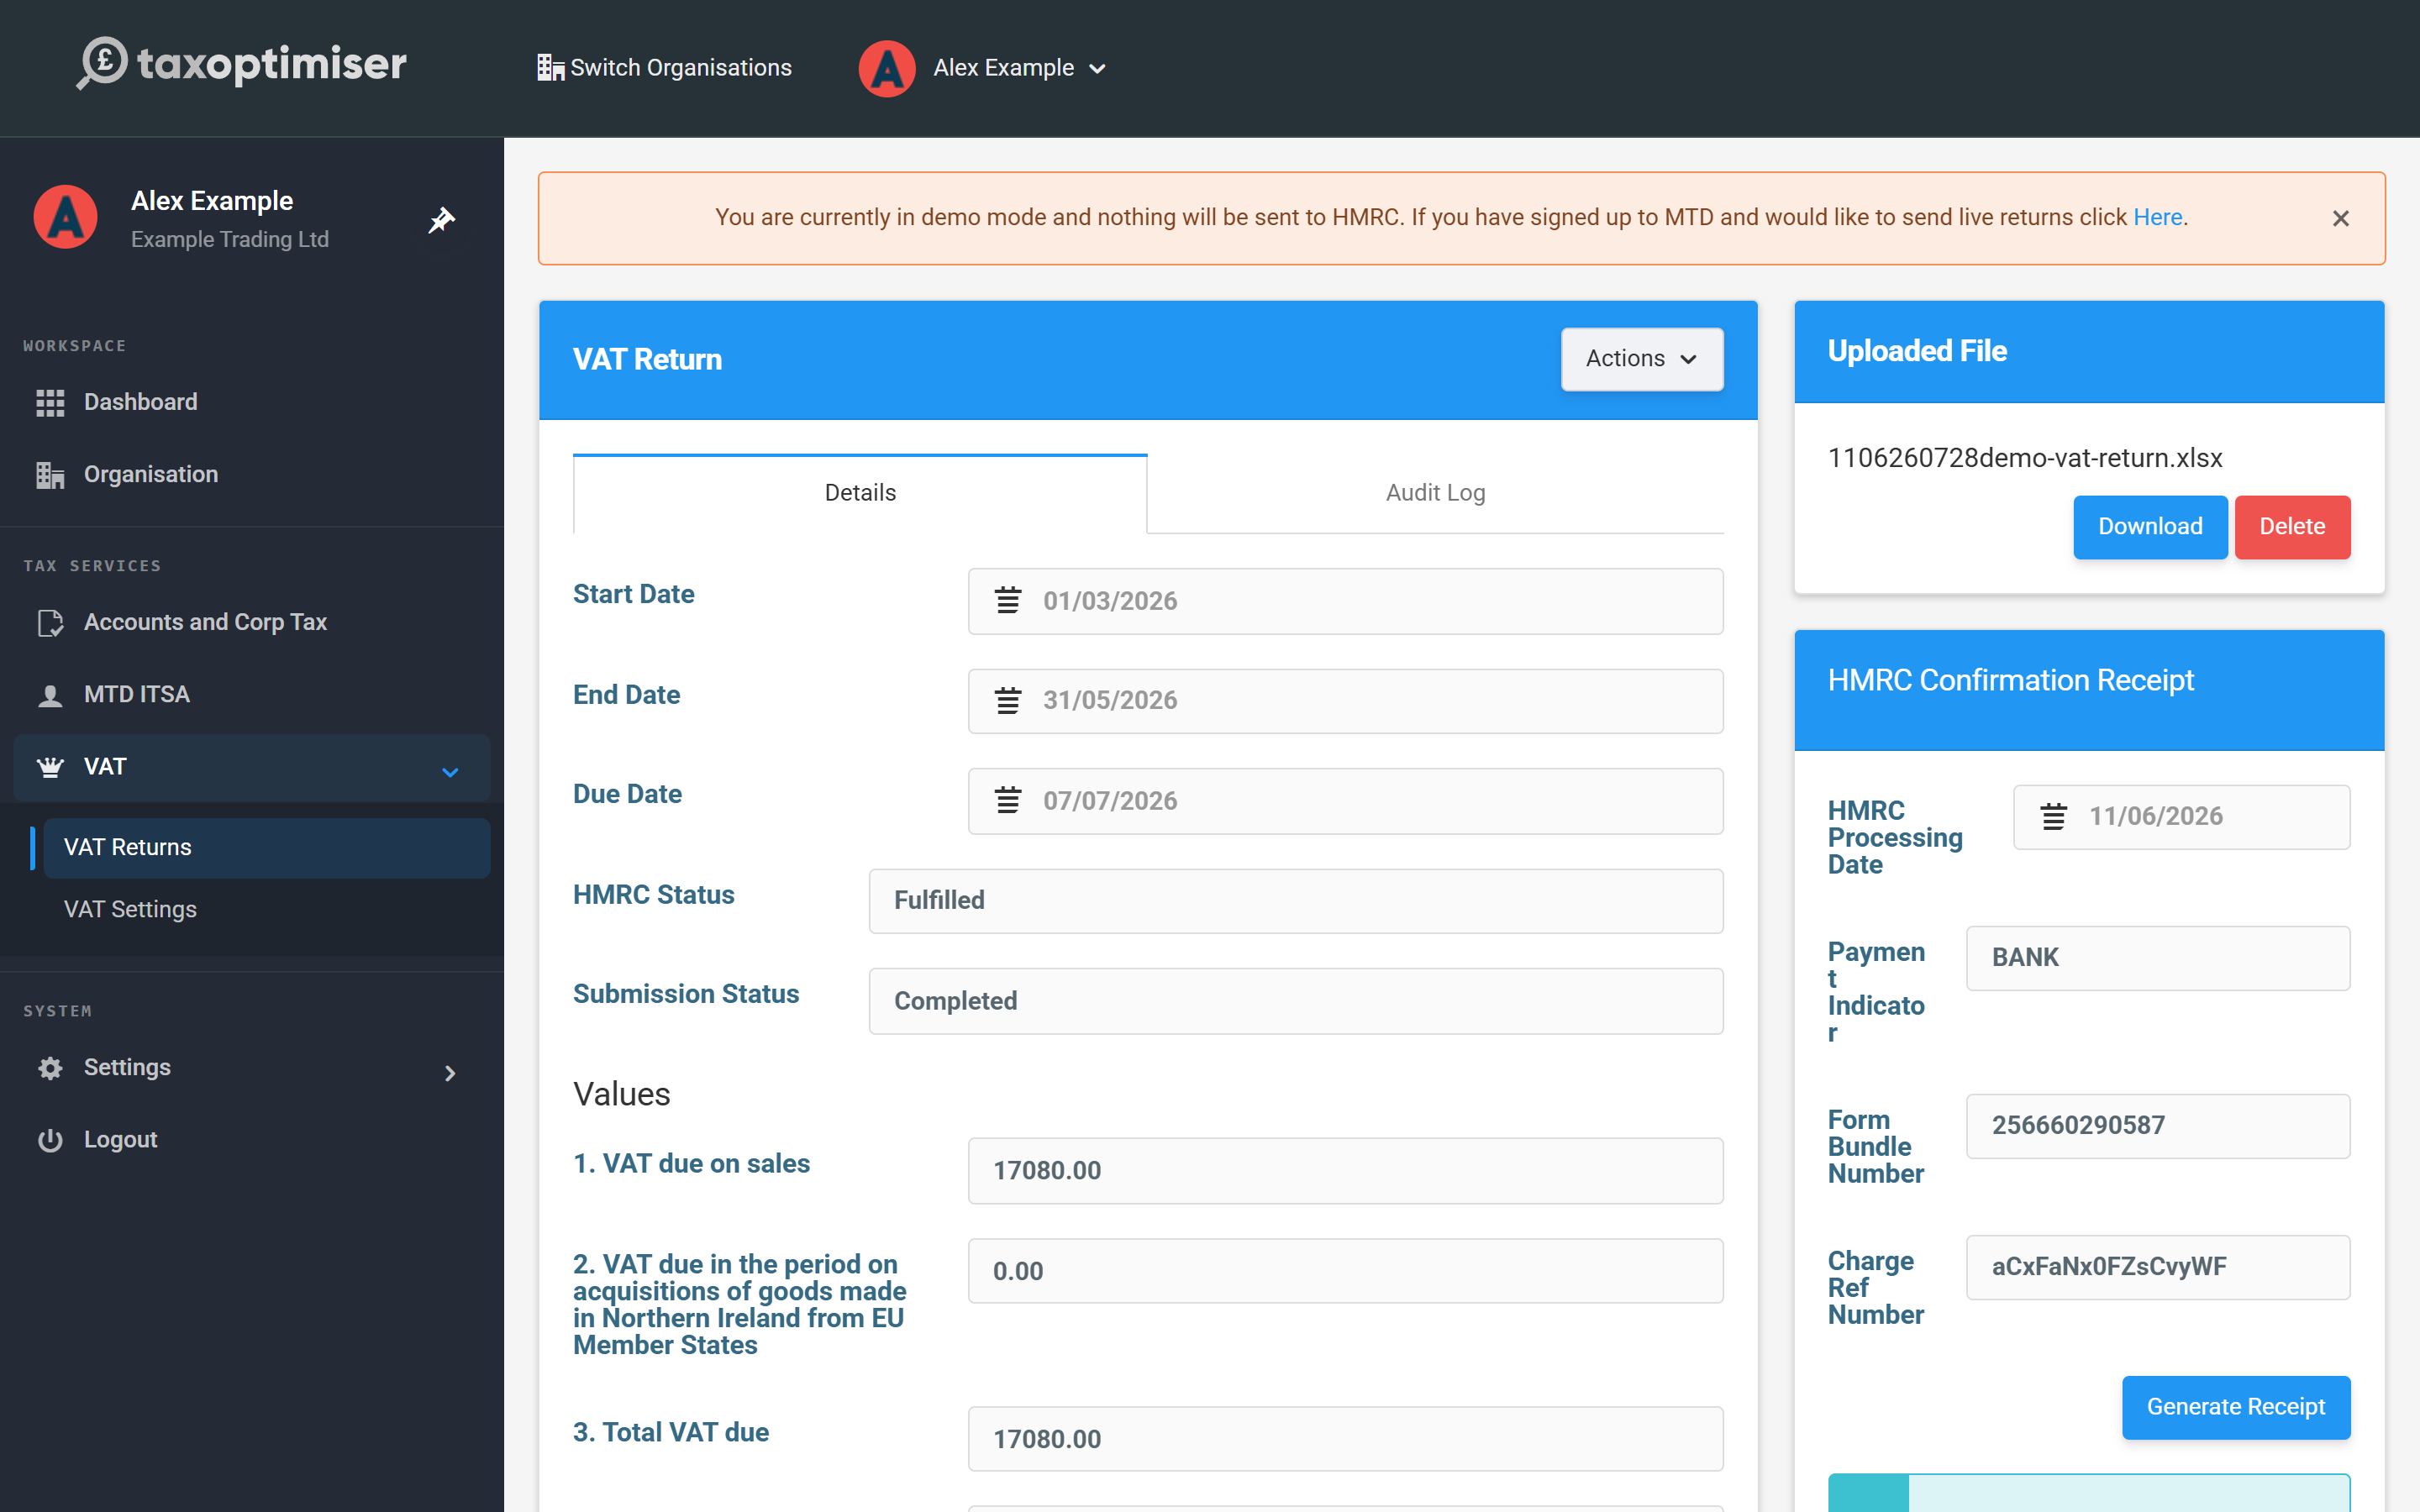
The return is submitted to HMRC using the authority you granted, and the Submission Status moves to Submission Accepted — the screen updates itself. On acceptance the HMRC Confirmation Receipt fills in: the Processing Date, the Payment Indicator, the Form Bundle Number and, where money is due, a Charge Ref Number. These are generated by HMRC and are your client’s proof the return was filed; Generate Receipt turns them into a PDF you can keep or send on. In demo mode the cycle completes instantly and nothing leaves Tax Optimiser.
If something goes wrong
A rejected return shows the HMRC error and the status changes to Submission Error — fix the cause and send again with Retry sending VAT return. If the error doesn’t make sense, contact support@taxoptimiser.co.uk. Two cases worth knowing: if your authority has expired the error links you straight to the reconnect flow; and an “already submitted” warning means HMRC has the return on file already (filed here or elsewhere) — check the period in HMRC and confirm it filed.